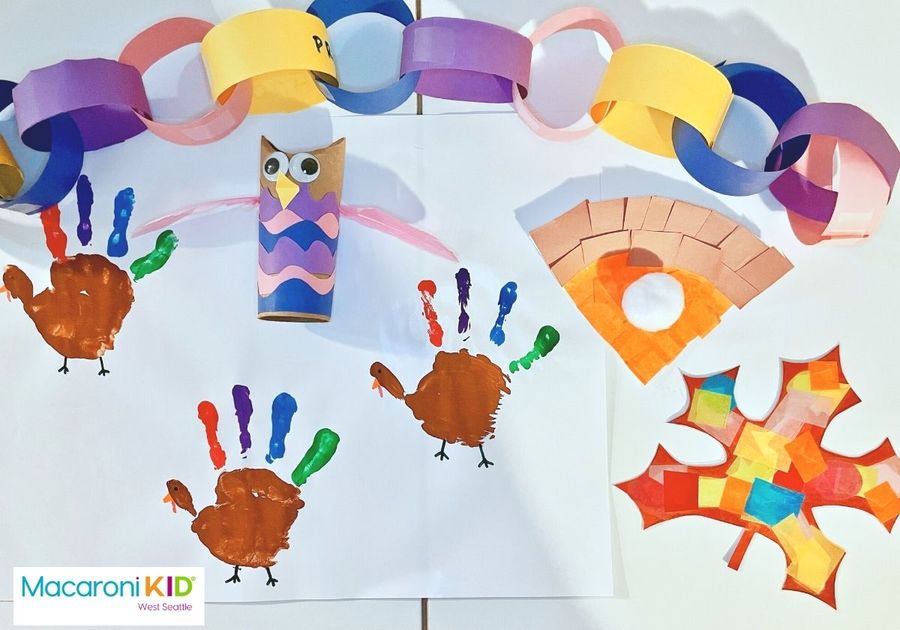
The kids are home from school, it’s rainy outside, and you have so much to do before hosting Thanksgiving dinner. Let Macaroni Kid West Seattle help you out with these 5 easy (and fun!) crafts that are sure to occupy the kids long enough for you to get your Thanksgiving prep done. Try them as a family and use the finished products to decorate your space for the holiday.
Fingerpaint Turkeys
Materials:Paper- any thick paper will workPaintbrushes- ideally 1 per colorWashable Tempera Paint- brown + 4 other colorsMarkers- for beak and feet | 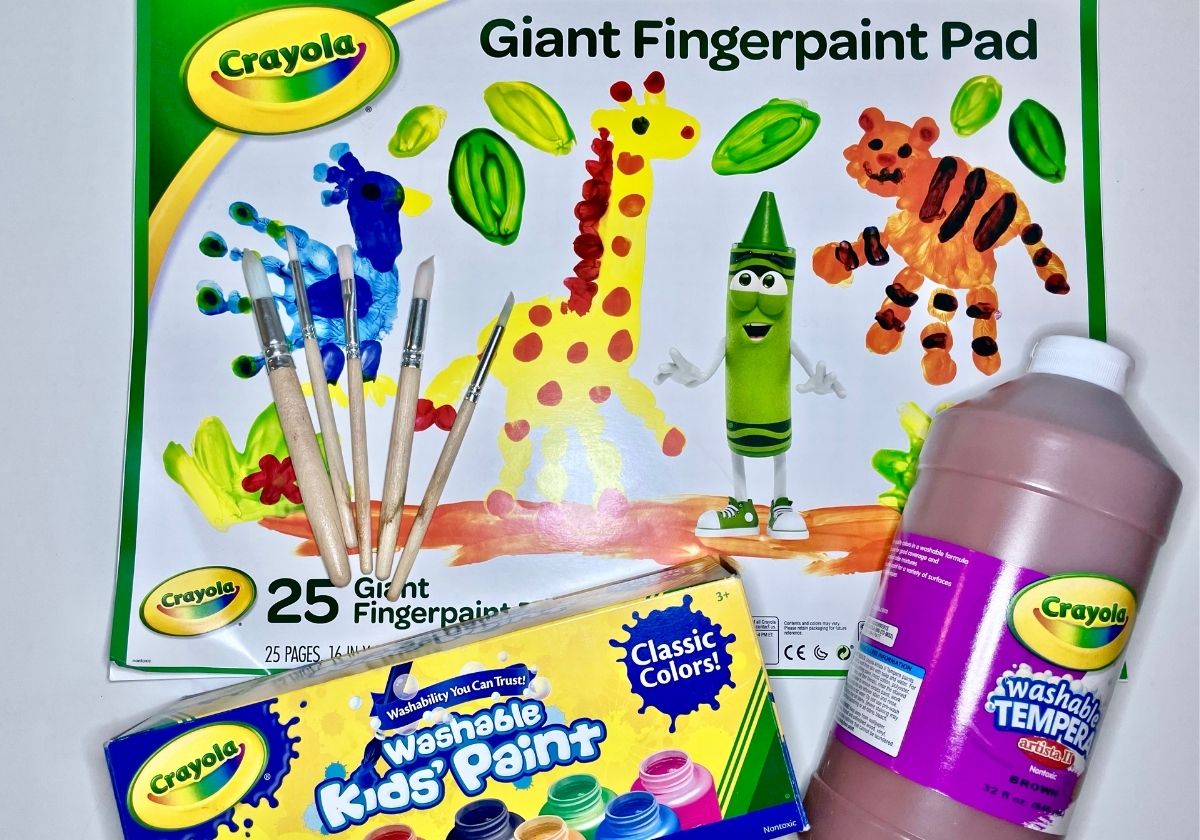
|
Paint your child’s palm and thumb brown to make the turkey’s body and head, and each finger will be a different color. *Have your child try to keep their fingers as far apart as possible to prevent mixing*
When each finger is painted, have your child turn their hand over and press it onto the paper with fingers spread out. Press down on the top of their hand and each finger gently to transfer the paint to paper.
| 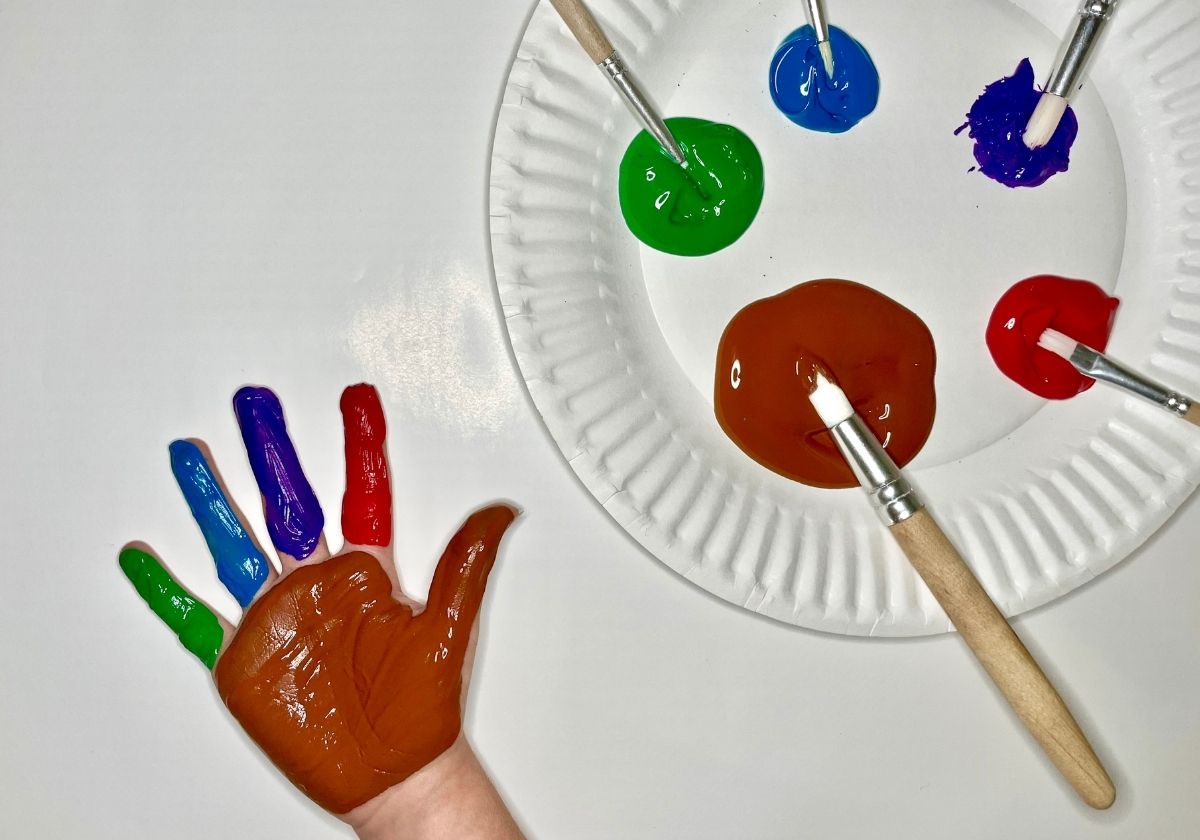 Photo by Arianna Gervasio
|
|
Have them lift their hand in one motion, leaving behind a handprint turkey.
Repeat for each additional turkey you’d like to make.
Allow the paint to dry completely before using markers, pens, or colored pencils to draw in the turkey’s beak and feet.
Display your turkey(s)!
| 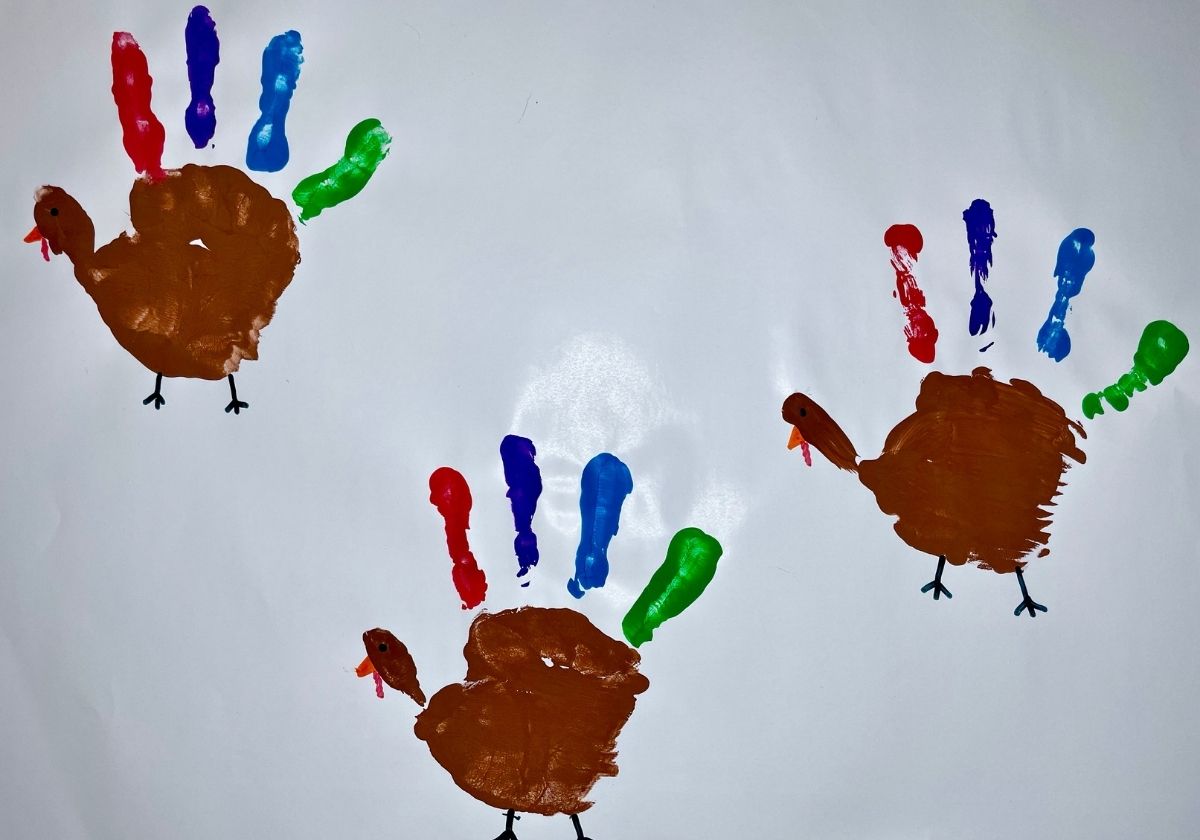 Photo by Arianna Gervasio
|
|
Toilet Paper Roll Owls
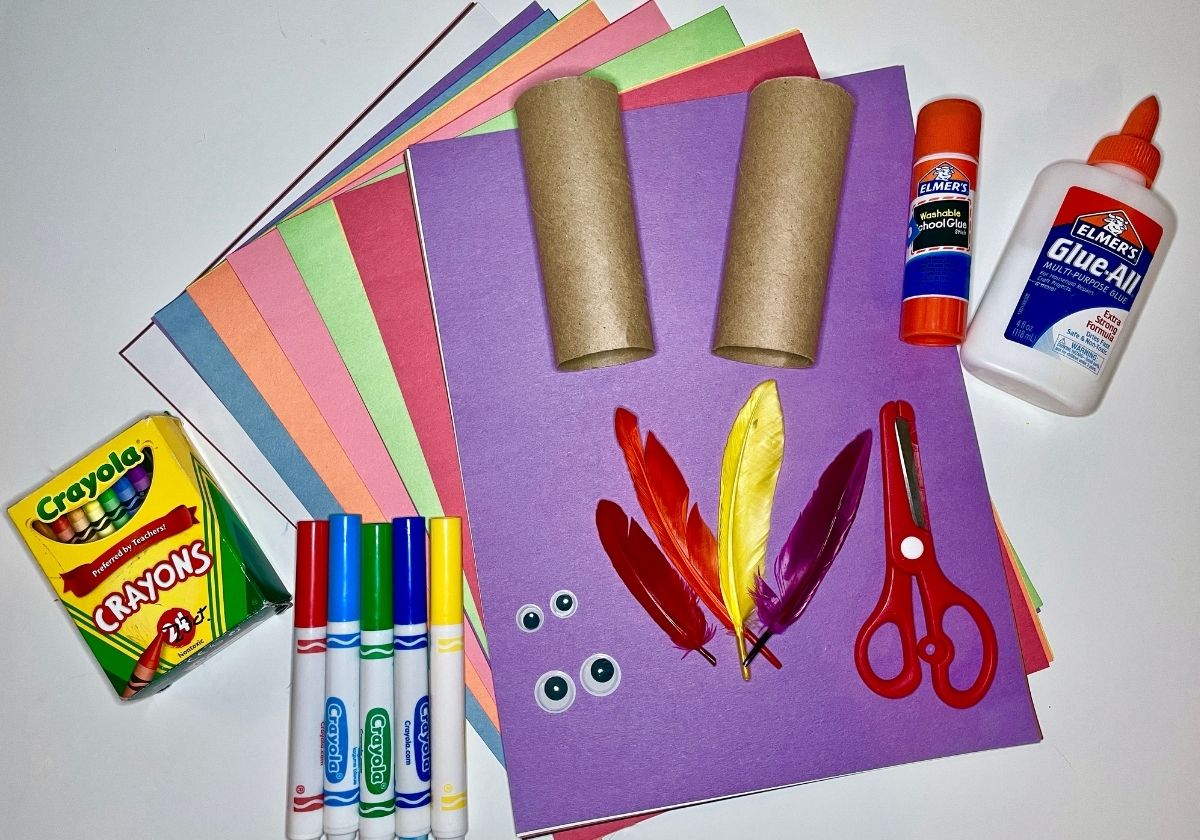
Materials:Construction Paper- or any decorative paper/giftwrapEmpty/Clean Toilet Paper Rolls- one per owlMarkers/Crayons- for decorating owl’s bodyFeathers- for decorating (optional)Googly Eyes- (optional)ScissorsGlue- gluestick or regular, tape also works | |
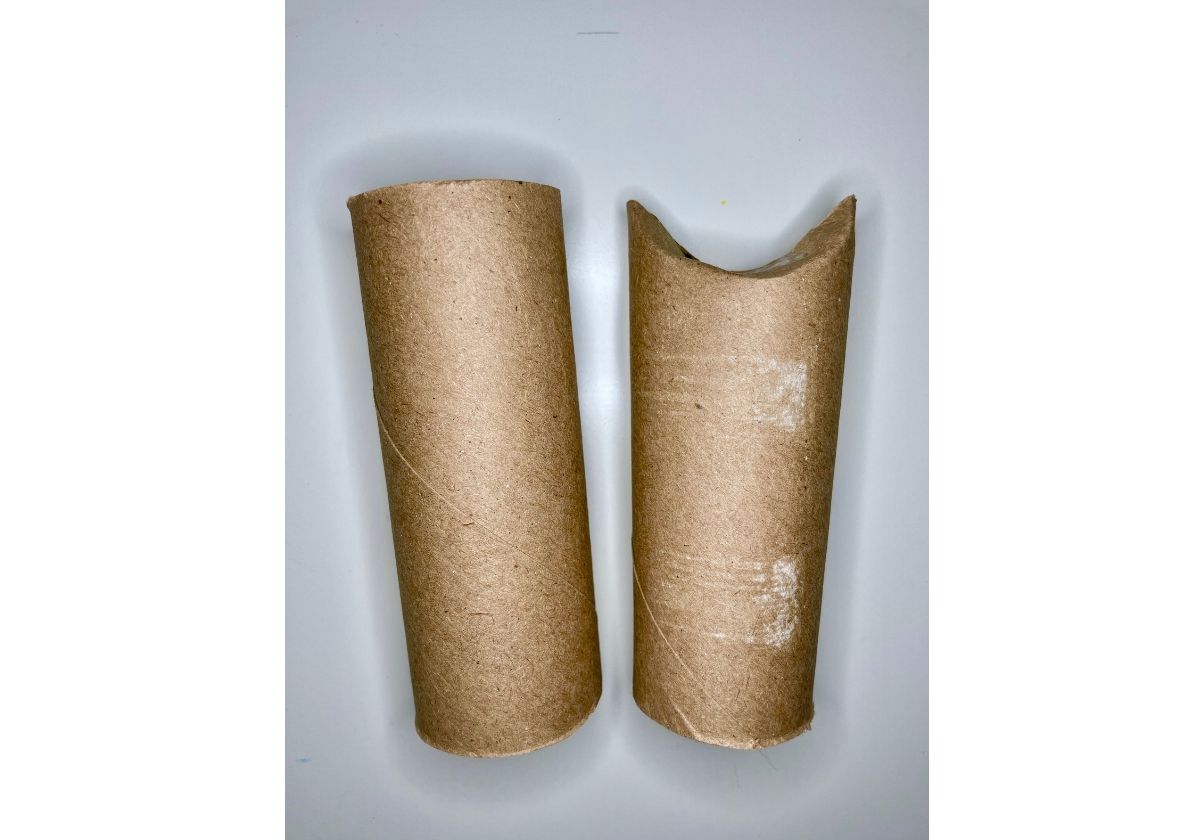
Fold the top of the toilet paper roll inward to form owl’s ears (you can tape the sides down if you’d like).
Using any combination of materials, decorate your owl’s body. You can cover the whole owl with construction paper, draw feathers on with markers, or glue feathers to the body. Make it your own!
Draw eyes or glue googly eyes to your owl’s face.
Out of construction paper, cut out a tiny diamond, fold in half, and glue to your owl’s face to make a beak.
You can cut wings out of construction paper, or stick feathers to the sides of your owl.
You’re done! Display your owl for your family and guests to see!
| 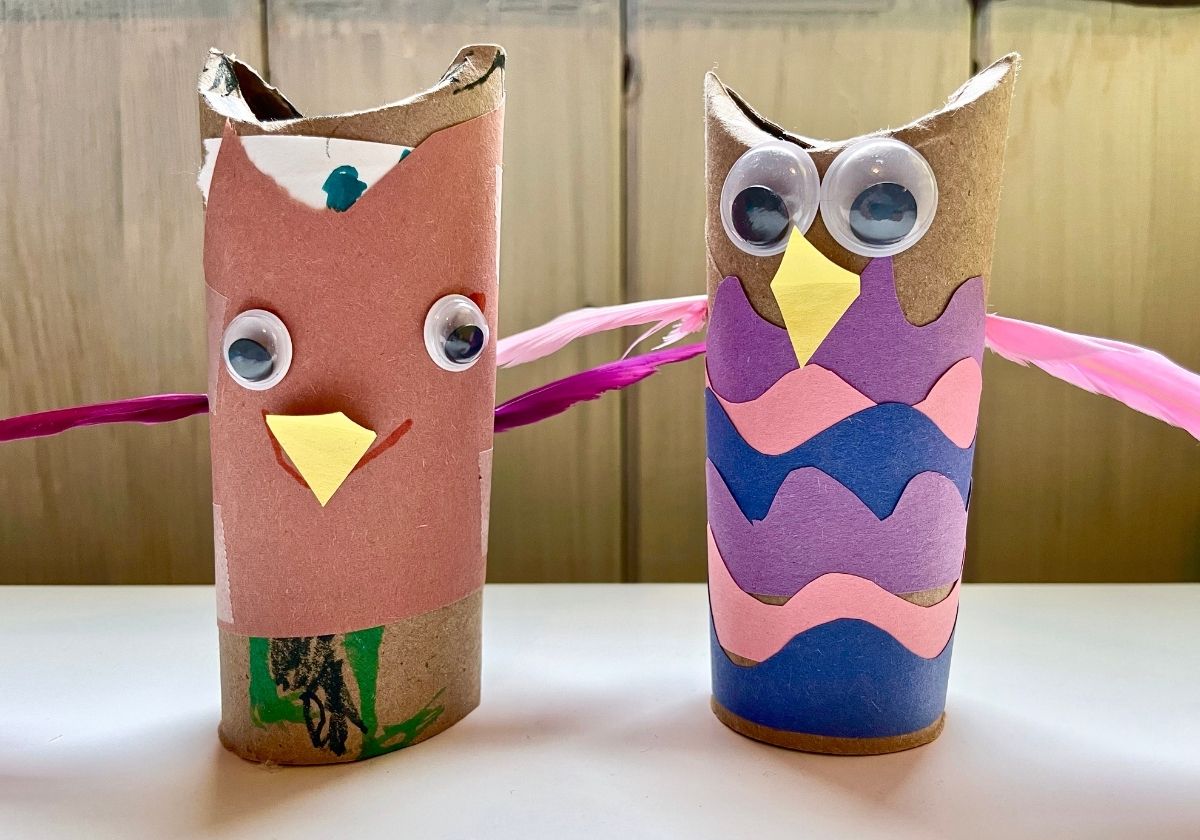 Photo by Arianna Gervasio
|
|
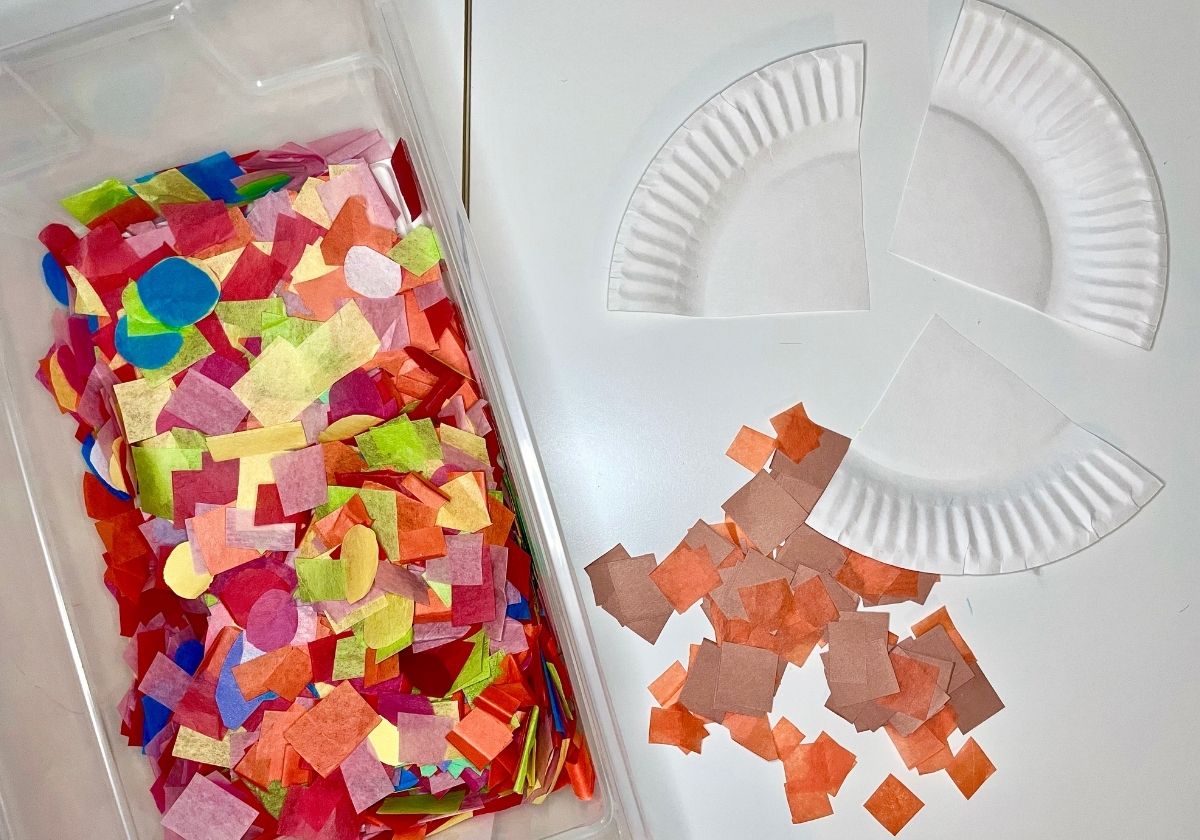
Tissue Paper Pumpkin Pie
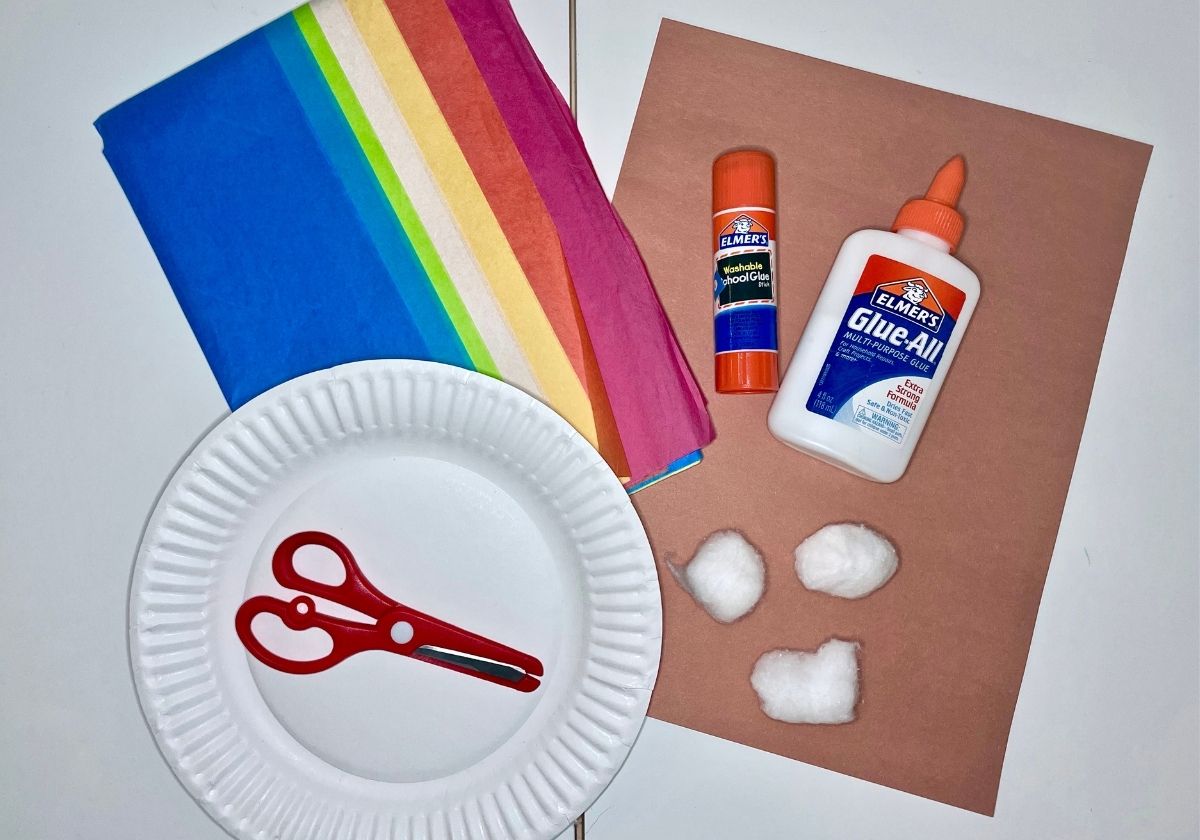
Materials:Tissue Paper or Construction PaperPaper PlateScissorsGlueCotton Balls | |
Cut the paper plate into equal sections (like a pie!)- one per person/pie.
Cut the tissue paper or construction paper into small squares. If making a pumpkin pie, you’ll need orange for the pie and brown for the crust. Encourage your child to choose other colors to create their own unique pies too! *Pro-tip: save extra tissue paper squares in a box/bag to save time next time*
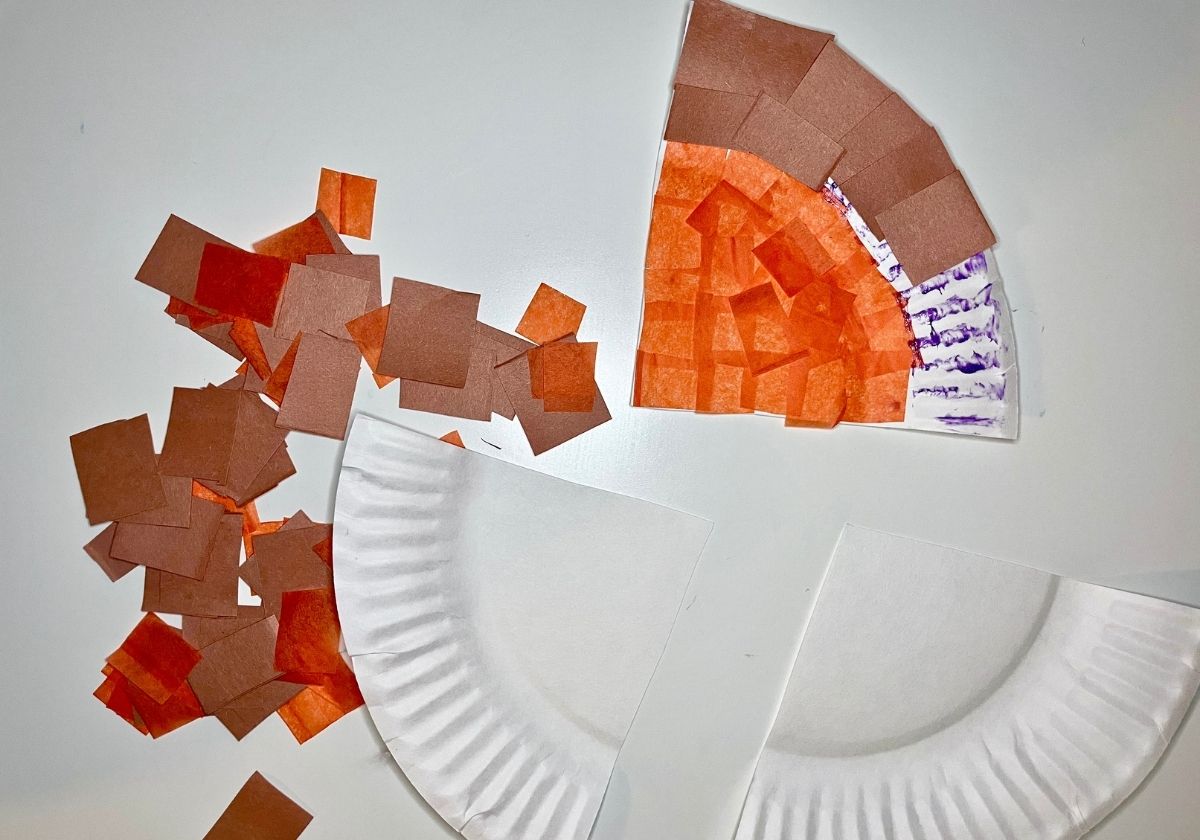
Glue the orange pieces to the flat triangle portion of your pie. Glue sticks work best for tissue paper, but regular glue can also be used.
Glue the brown crust pieces to the outer rim of the paper plate pie to create the pie crust.
Glue your cotton ball “whipped cream topping” to the middle of your pie.
Display or serve your new slice of pie!
| 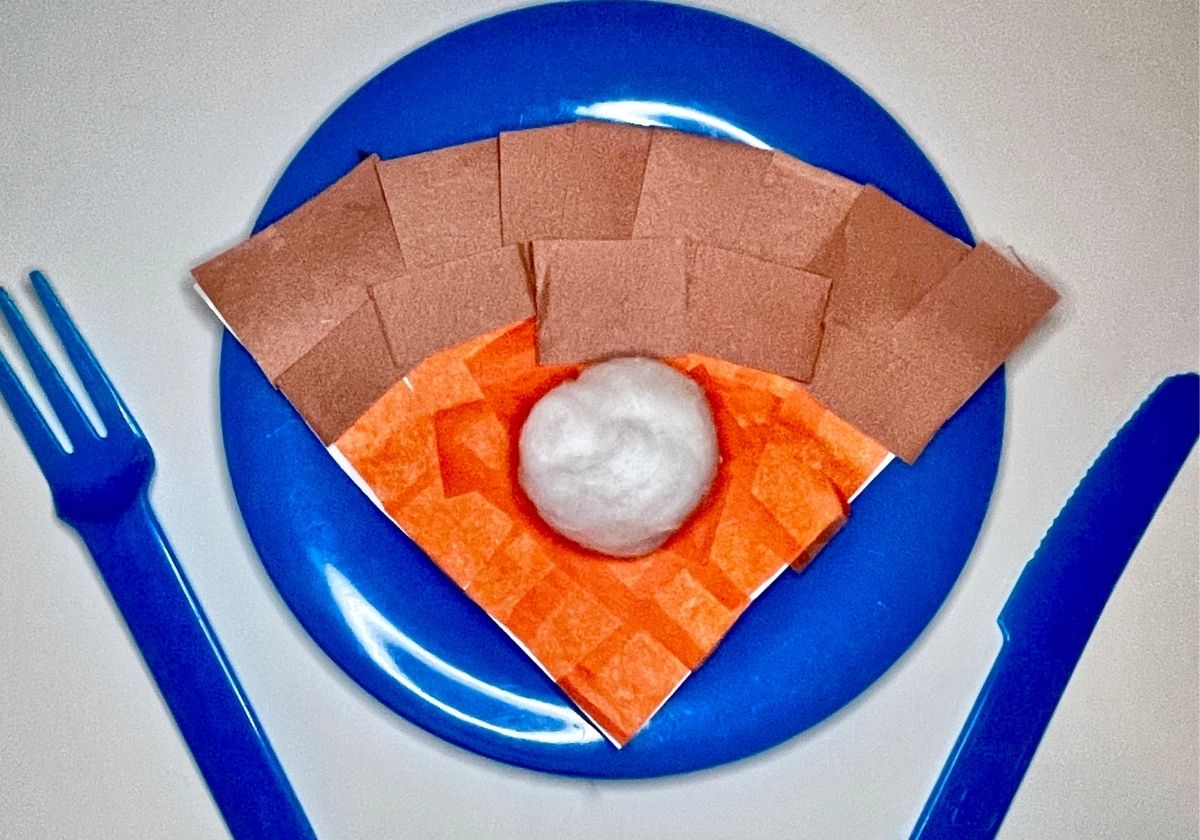 Photo by Arianna Gervasio
|
|
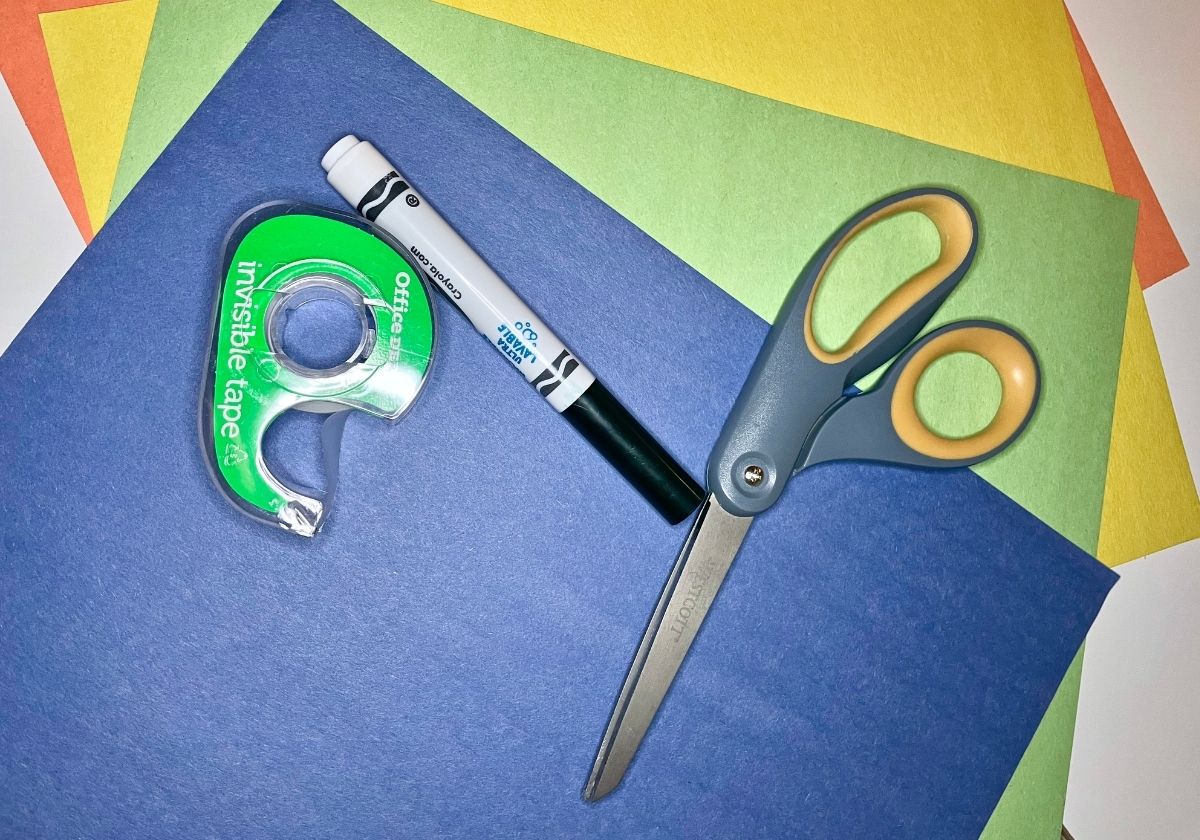
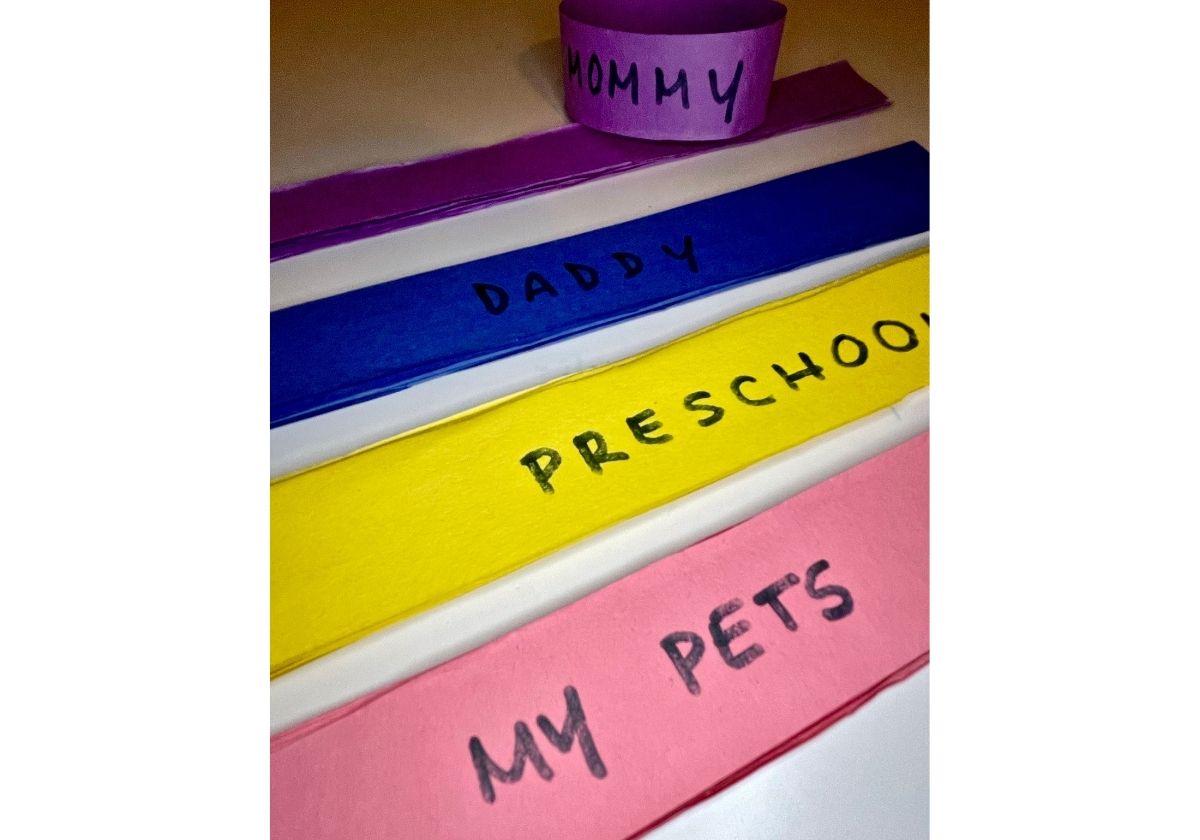
Gratitude Chain
Materials:Construction PaperScissorsTapeMarker/Pen | |
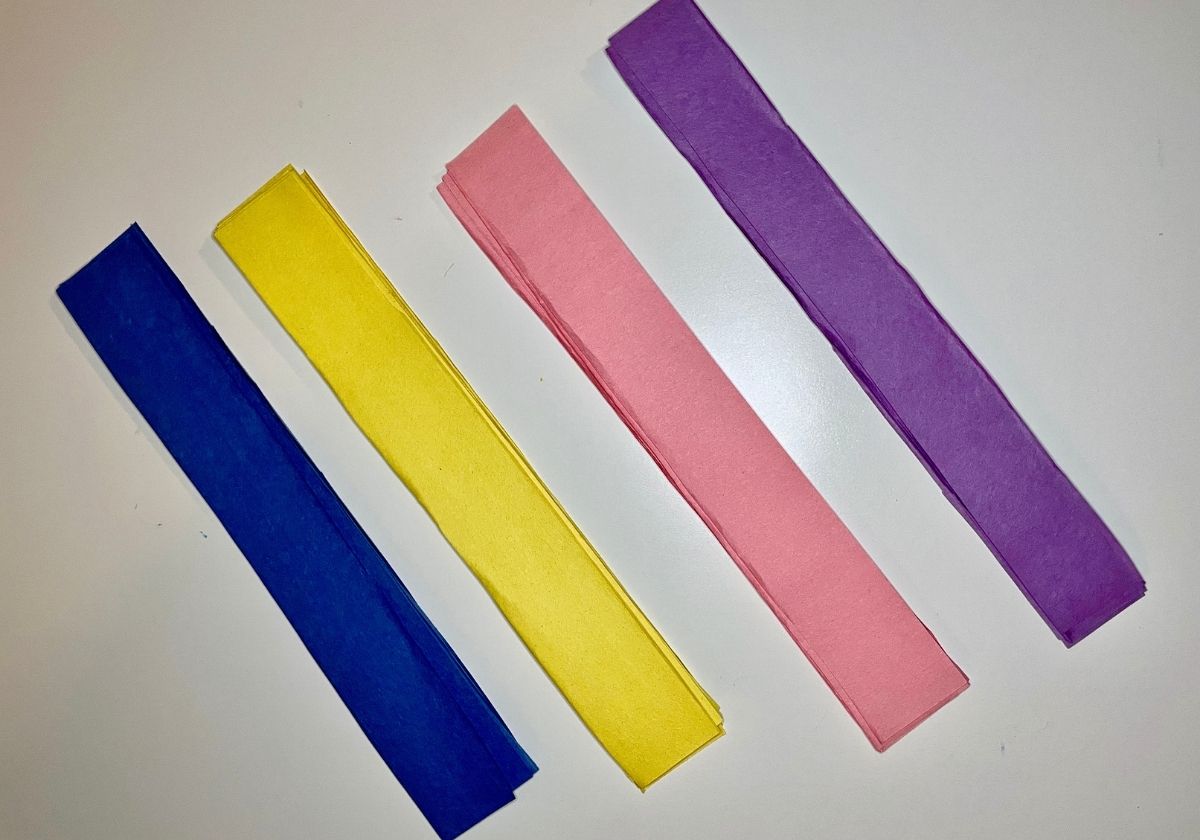
- Cut your construction paper into even sized strips.
- Have your child write (or dictate) a few things they are grateful for. Write one thing/person per strip.
- Make a loop with one strip and tape the ends together to create a link.
- Put the next strip through the link opening and tape the ends together to form another link. You should now have two links connected through each other.
- Continue in this manner with your remaining paper strips.
- Challenge your child to come up with as many things they are grateful for as they can. The more gratitude, the longer the chain!
- Find a spot to hang your chain. Use it to decorate or to start a conversation about gratitude and thankfulness.
| 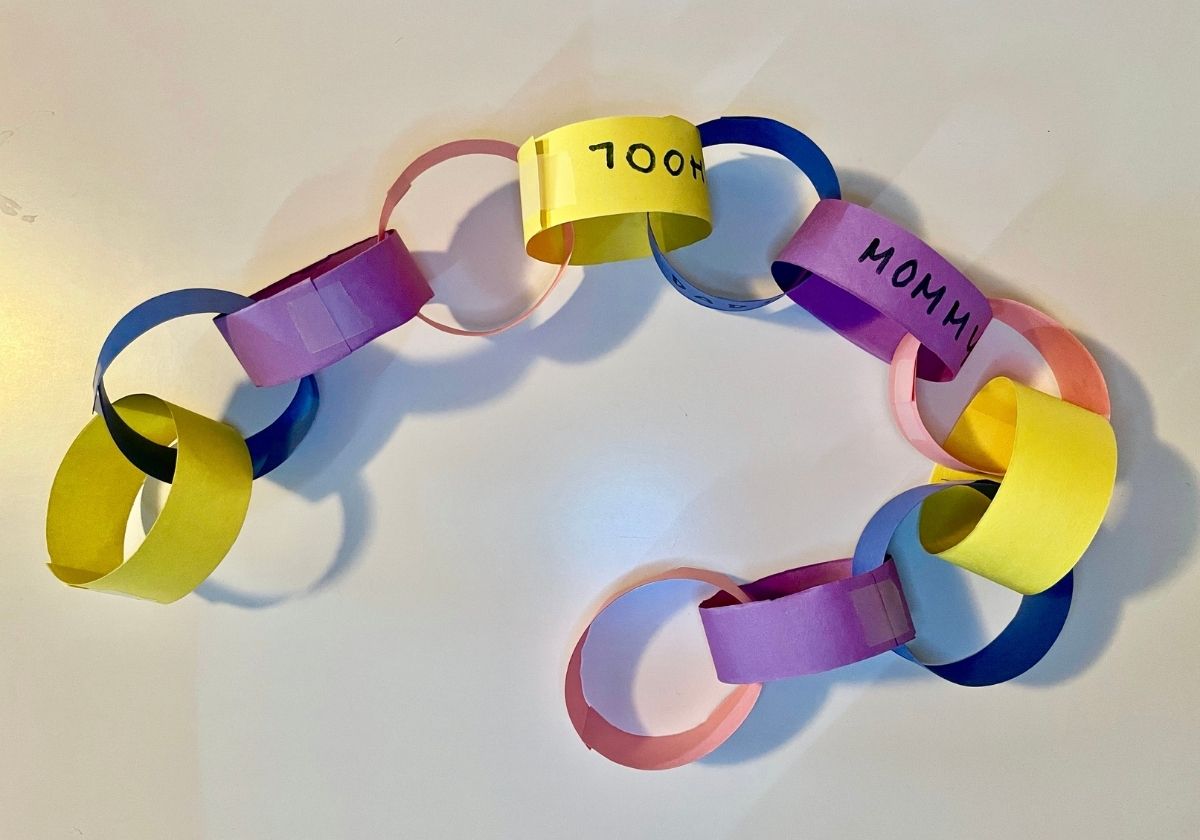 Photo by Arianna Gervasio
|
|
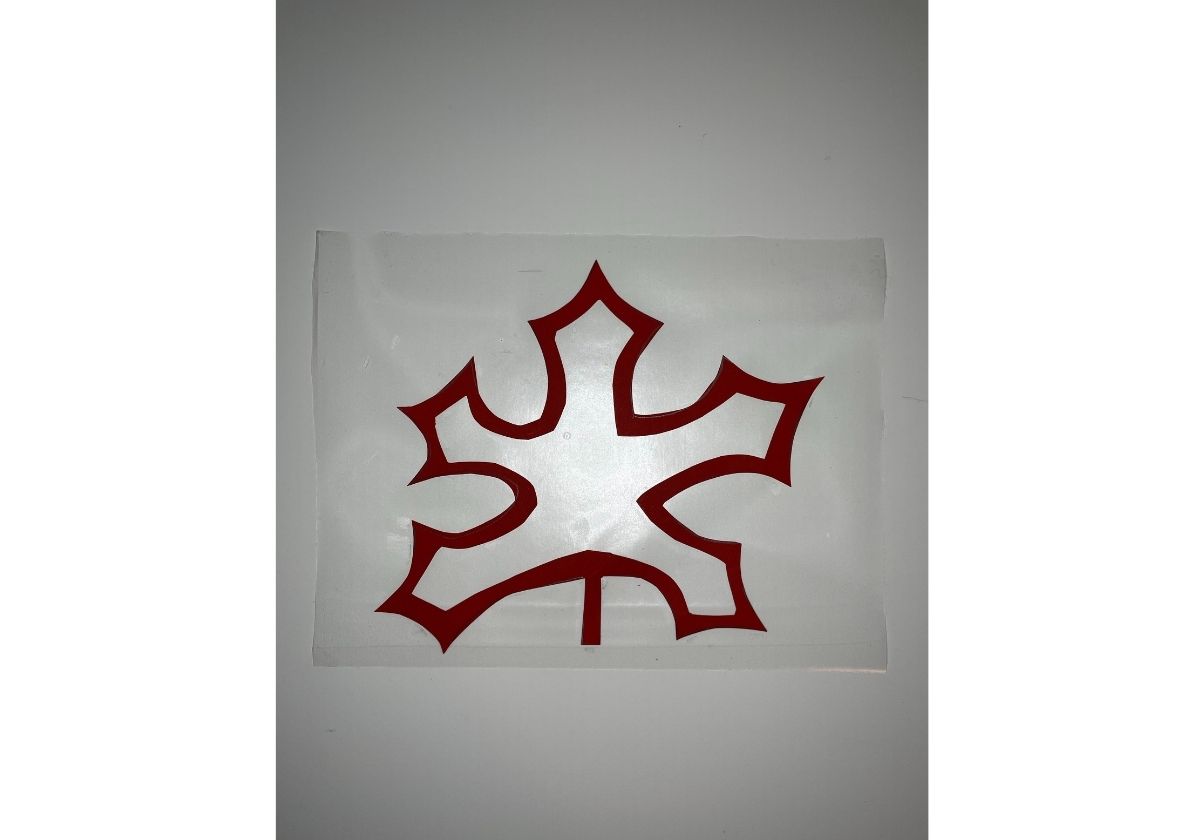
Fall Stained Glass
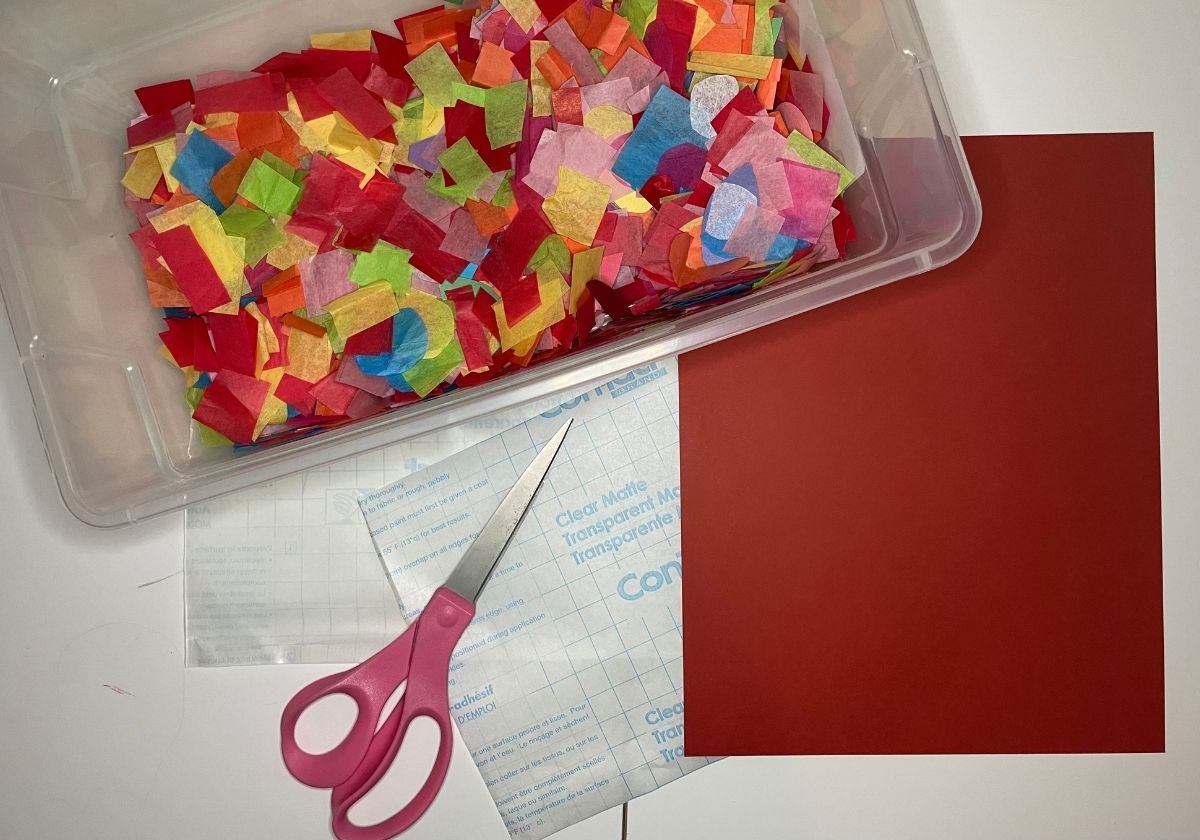
Materials:Contact PaperCardstock or Construction PaperTissue PaperScissors | |
Cut your desired shape out of the cardstock or construction paper. Some fall shape ideas include: a pumpkin, leaf, tree, or turkey. But any shape will work!
Cut out the inside of the shape, leaving a one inch border. Your shape should now be empty in the middle (this is where your stained glass pattern will go).
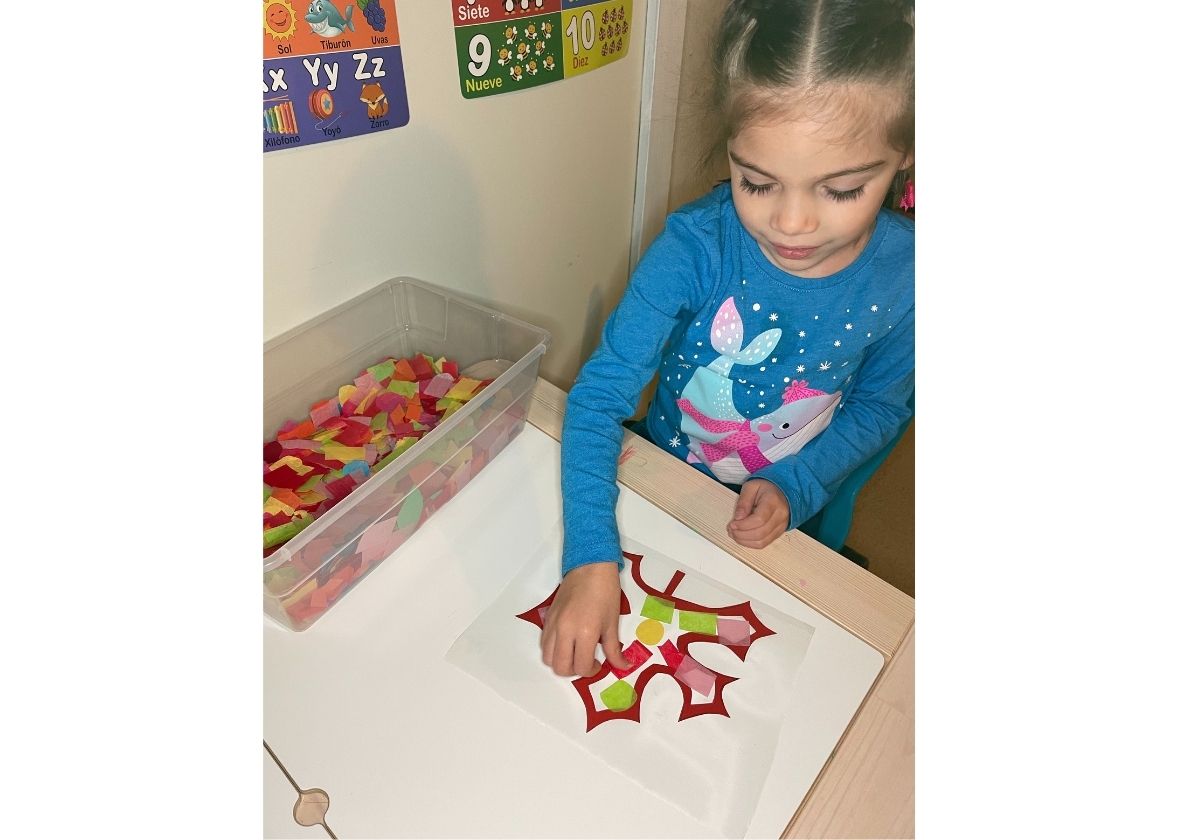
Cut small squares out of your tissue paper. The smaller the better for this type of project. *Pro-tip: save extra tissue paper squares in a box/bag to save time next time*
Cut 2 equal sized rectangles out of the contact paper. Make sure that the rectangle is large enough to cover your chosen shape.
Peel the backing off one contact paper rectangle. Keep the sticky side up and place your shape in the middle of the sticky side.
| 
|
Fill the empty center of your shape with the tissue paper squares. You can use “fall colors” like red, orange, yellow, and brown, or get creative and use your favorite colors!
When the center of your shape is covered, peel off the back of the second contact paper rectangle and place it sticky side down over your artwork. The sticky sides should make contact with each other.
Smooth out the contact paper and try to push out any air bubbles or bumps.
Use your scissors to trim the outside of your shape. Discard the trimmed contact paper.
Your stained glass project is done! Find a window to hang/tape it in and watch the sun come through your design. To lengthen the life of your project, you can laminate it when you are done.
| 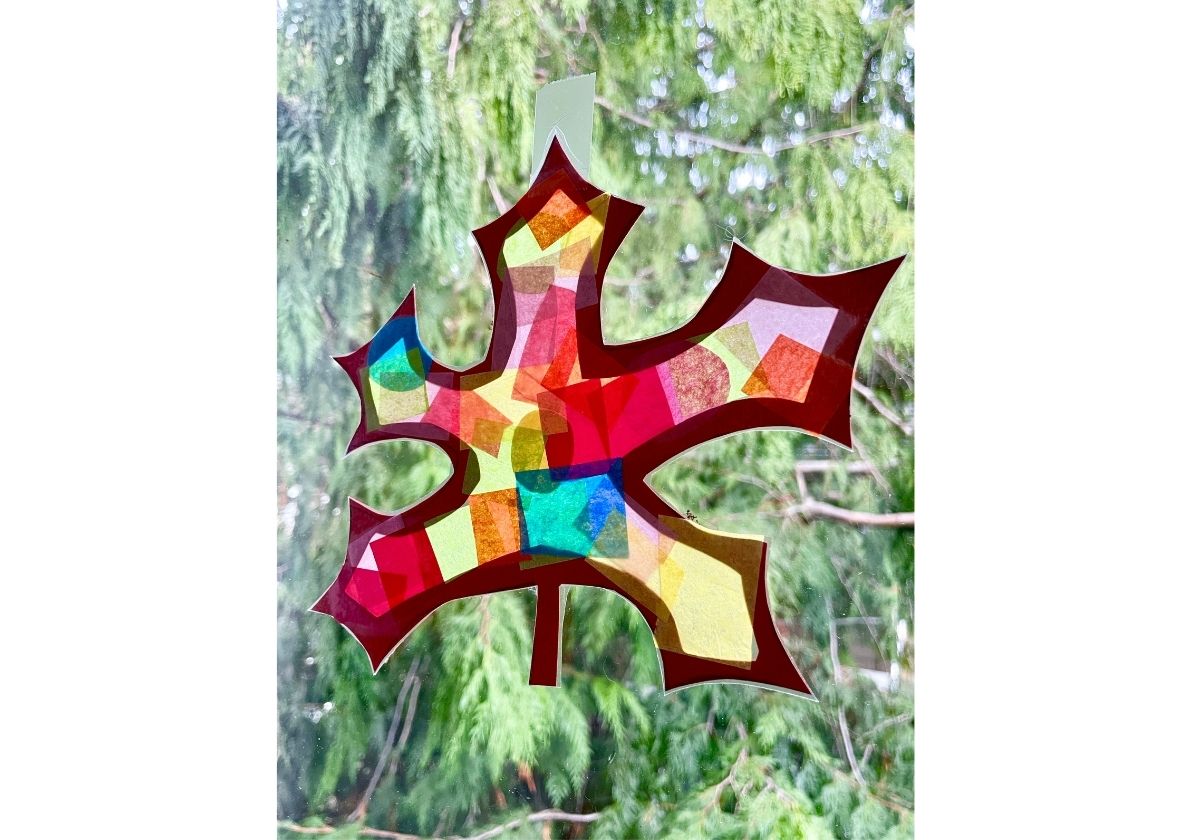 Photo by Arianna Gervasio
|
|
Which Fall/Thanksgiving craft was your family's favorite to make?
Share your completed art projects with us on the Macaroni KID West Seattle Facebook page!
🍁🍁🍁
Are you a Macaroni KID West Seattle subscriber?
If not, subscribe today to receive your FREE weekly newsletter containing the best resources, activities, businesses, events, and giveaways in West Seattle, White Center, Burien, Tukwila, and Georgetown!